
1. Power on your system. Press the
appropriate key, typically ESC, F12,
or DEL. If a boot menu isn’t available, you’ll need
to adjust the boot sequence in the computer BIOS, which you can then use to
boot directly from your selected media. Set your computer’s BIOS to boot from
the first installation CD or USB drive. Details vary by PC. Make sure your BIOS
saves your changes before you reboot.

2.
You’ll see the first installation
screen. Click Next.
3. You’ve already selected a language and
keyboard, so the next step, if you’re actually running Red Hat Enterprise Linux
5 (as opposed to one of the rebuild distributions), is to enter an installation
number associated with your purchased or trial subscription, as shown Here

4. Partition configuration based on your
memory and available hard disk space (based on free space after removing
partitions), or choose to customize the configuration

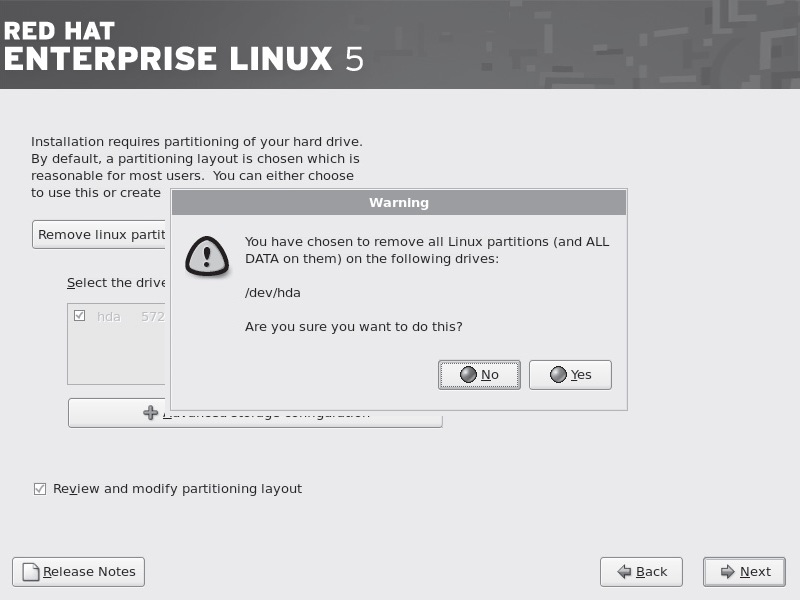
5.
If there are existing partitions on
the installed hard drives, you’ll get the chance to confirm that you want to
remove said partitions (this step isn’t final). If you’re configuring a
dual-boot with another operating system, don’t delete the partitions! Instead,
click back and select Create A Custom Layout.
6.
Now inspect and change partitions in
Disk Druid, as shown. You can also create and then configure RAID and LVM
partitions. And Then Click Next.

7. Once you’ve configured your
partitions, set up a boot loader. If you select No Boot Loader Will Be
Installed, you’ll need to use a third-party boot loader such as Partition Magic
or Microsoft’s NTLDR. Unless you want to set up a Boot Loader Password or
Configure Advanced Boot Loader Options, click Next.

8. Configure your connection to the
network. If you don’t want the DHCP server to assign a hostname (or you don’t
have a DHCP server), you can assign it manually, as shown here. Click Next to
move on.

9. Set the time zone for your system. If
you don’t have another operating system on this computer, keep the System Clock
Uses UTC option active. Then click Next.

10.
Type in and confirm the root password
for your system. Click Next

11.
There are two
package customization screens available. Click Next

12.
Select the package groups of your
choice. This should conform to the requirements of the Installation and
Configuration section of your particular packages. Click Next.

13.
Once you’ve selected the package
groups of your choice, you get one last chance to go back before starting the
installation process. Click Next if you’re happy with your choices, or click
Back to make changes.

14.
The next screen congratulates you for
completing the installation. The next step is to reboot your computer into RHEL. Click Reboot.

Hope the Above Redhat enterprise Linux
5 step by step installation. If you have any question or query ask at any time.


2 comments:
nice post. i like it
Its a very help full for beginners thank to Mr. Raziq.....
I need help for Squid server in RHEL 5
i have configured a test squid server.
i want to apply access rule for internet users ..
i want to configure content blocking,site blocking ,torrent blocking, etc.....
and bandwidth controller feature on the ip basis with my squid server configured on RHEL 5
Post a Comment